Voice controlled google assistant using Raspberry pi
- nik patel
- Oct 2, 2020
- 2 min read
Hey there!, in this post I will show you how to make google assistant using raspberry pi.
The purpose of this slides is to illustrate the implementation of a Voice command System as an Intelligent Personal Assistant that can perform numerous tasks or services for an individual.
Using Raspberry Pi as a main hardware to implement this model which works on the primary input of user’s voice.
It can help with visually impaired to connect with the world by giving them access to Wikipedia, Calculator,general information all through their voice.
Hardware Requirement:
Raspberry Pi
Ethernet cable/WIFI
USB Microphone
A speaker with 3.5mm jack
Power supply
Keyboard, Mouse and Display screen for installing OS on Raspberry Pi
Raspberry Pi 3 / 2
SD card for


Prerequisites:
Internet should be available to raspberry Pi.
Connect raspberry pi remotely to your pc.
Software to be used:
We’ll be installing Linux OS on Raspberry Pi.
Then, we’ll be using Python to establish connection between Raspberry Pi and Google Assistant Library via Ethernet.
Block Diagram:


Steps of making this Project:

Set Up Hardware and Network Access.
Configure and Test the Audio.
Configure a Developer Project and Account Settings.
Register the Device Model.
Install the SDK and Sample Code.
Run the Sample Code.
Then we can connect and configure extra components like LEDs, Stepper Motor, etc.
Set up hardware and network access:

Connect the microphone and speaker to raspberry pi .Insert the SD card into raspberry pi(with Raspbian OS).plug Ethernet cable to laptop.
Connect raspberry pi via SSH
Configure and test the Audio:
write code in python:
arecored-l
aplay -l
Create a new file named .asoundrc in the home directory (/home/pi). Make sure it has the right slave definitions for microphone and speaker; use the configuration below but replace <card number> and <device number> with the numbers you wrote down in the previous step. Do this for both pcm.mic and pcm.speaker.
Configure developer project and account setting:


Configure the action console project.
Enable API & Services.
Set activity controls for your account.
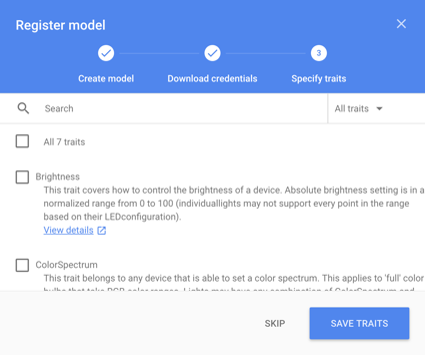
Register the device modal:


Use registration UI
Create model
Download credentials
Specify traits
Install the SDK and sample code:
Configure a new Python virtual environment.
Use a Python virtual environment to isolate the SDK and its dependencies from the system Python packages.
Get the package
Generate credentials
Add those accounts to action console project
Run the sample code:
To find the project ID in the Actions Console, select the project, click the gear icon, and select Project settings.
Replace my-model with the name of the model you created in the previous STEP.
googlesamples-assistant-hotword --project-id my-dev-project --device-model-id my-model
Say Ok Google or Hey Google, followed by your query. You can try some of the following:
Who are you?
Where is Tajmahal?
What is the weather in San Francisco?
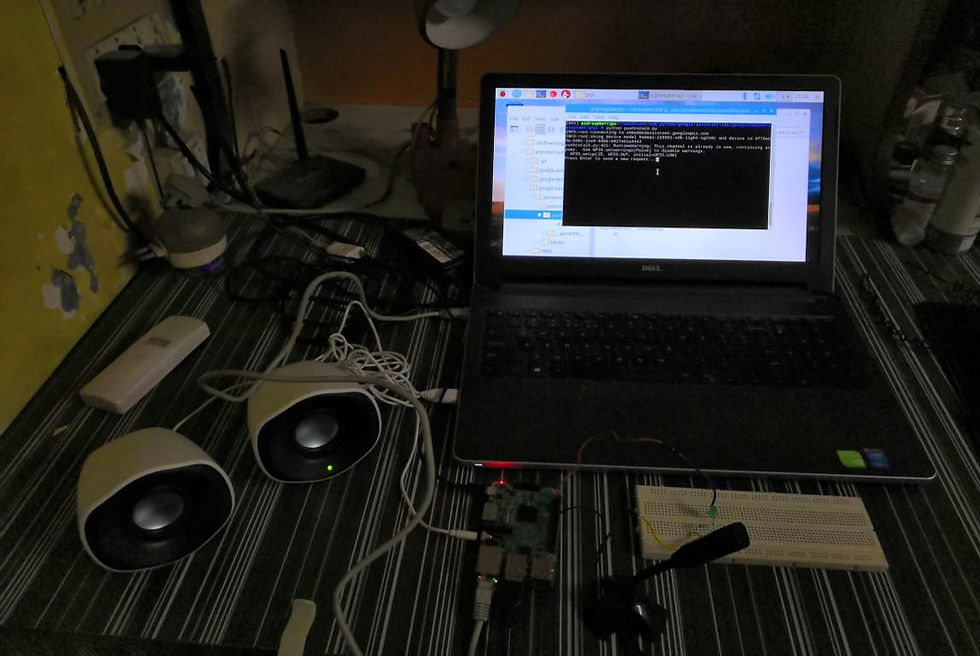
Result:
enter send a new request

send request to turn ON led.

led turn ON

Conclusion:
in this project, we have used voice command system to ask the Google assistant about various search queries, Also we have connected an LED on the GPIO pin of board that we are able to control using the voice command.
In future, this system has a broad scope to use that in various applications where we can control devices with voice.
The Voice Command System has an enormous scope in the future. Like in home automation, self-driving car, robotics system, etc.
this also paves way for a Connected Home using Internet of Things, voice command system and computer vision. Its works with over 5000 connected home devices.
NOTE: here, I have attached windows file of my final year project report voice controlled assistant using raspberry pi.
References:
.png)


Comments